 |
| We're having our first workshop by the end of the month! :-D |
The Craft MNL workshop is well...almost open! We still have to get our schedules down pat to have someone there most of the time, but in the meantime, we're cooking up all sorts of workshops for everyone to enjoy! Watch out for screen printing, art collage and bookbinding, with possibly friendship bracelet making in the works! I've been so excited these past few days, I've been getting up extra early in the morning in anticipation. :-)
Of course, as part of the excitement, I prepared a rather quaint, rustic signage for the workshop. Of course it has to be handmade!


So I prepared he designs. I used a public domain graphic, and modified it, making sure it was an appropriate size for the embroidery hoop I bought. I then had the designs printed with a laser printer. When it was printed out, I traced the circle of the embroidery hoop with a pencil, and cut out the round trace. I then taped the design onto katcha cloth while my Creative Versa-tool was heating up.


When I felt the Creative Versa-tool tip was hot enough (I tested the heat by applying it first on blank paper), I rubbed it on the back of the printout (with the printed side facing the cloth) while applying even pressure, with a circular motion. At this point, it would be good to note that the design I had printed was a mirror image, so that it would come out right-side facing when the image is transferred.
I learned that the quality of the transfer depends on the pressure you apply, so make sure the surface under the cloth is nice and even (and heat resistant).
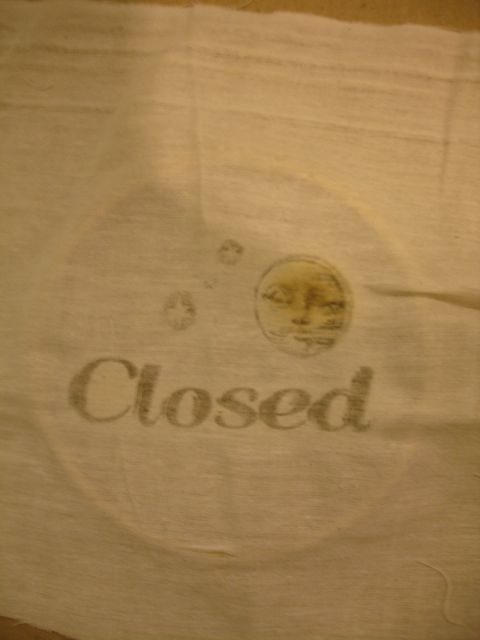
In my zeal to make sure the print came out dark enough, I took my time rubbing the moon image in the "Closed" sign, resulting in the paper moving a bit, and the moon getting a bit burned (yes, make sure your cloth will not burn!). Making the most of it, we figured the damage lent a more vintage-y effect. Haha! :-)

So now for the attaching to the embroidery hoop part.
I first laid the cloth printed with "Closed" over the inner hoop, and wrapped the cloth around it, evening out the surface while positioning it inside the outer hoop. I then taped down the excess cloth and sewed the cloth down. When the stitching was done (no photos for this, sorry), I removed the tape.
I then removed the inner hoop (now covered and secured with the "Closed" print), and laid the cloth printed with "Open" over the other side, also stretching it taut over the inner hoop, and securing it by placing it tightly within the outer hoop.

I then trimmed the excess cloth from the "Open" side that stuck out on the other side.
 |
| Yay, reversible! |
If you look closely, you can still see some of the excess cloth sticking out. I don't mind keeping it there, because it still goes with the whole rustic effect.
And now since the signage is done, the workshops are to follow! :-) Just came from the 10A Alabama Craft Fair earlier today. Exciting things coming!
grt
ReplyDelete